Booking a Parks Canada campsite means creating an account, logging in at the exact moment your target park opens reservations in January, and clicking through a multi-step process faster than hundreds of other campers vying for the same lakeside spot. The entire system runs through Parks Canada’s Reservation Service, available online or by phone at 1-877-737-3783, and success depends almost entirely on preparation and speed when those booking windows crack open each year.
I learned this the hard way during my first attempt to snag a site in Banff. I thought showing up online a few minutes early would be plenty. Wrong. Within seconds of the launch, the most desirable sites were gone, and I was left scrambling through what remained. The competition is real, especially for iconic locations during peak summer weekends, and the system doesn’t hold your hand through the process.
Here’s what actually works: you need to set up your Parks Canada Reservation Service account well before booking day, have your campground research done, know your backup options, and be ready to move through the steps without hesitation. If you haven’t made a reservation since March 2023, you’ll need to create a new account using secure sign-in through Facebook, Google, a participating bank, or GCKey. That account becomes your dashboard for managing reservations and purchasing passes later.
This guide walks through everything you need before, during, and after the booking process so you’re not learning the system while competing for sites. The parks are worth the effort, but only if you actually secure a spot.
What You Need Before Booking: Essential Preparation
I’ll never forget the pit in my stomach when I clicked “continue” on booking day, only to be asked for account information I didn’t have ready. By the time I fumbled through account creation, my dream campsite at Fundy was gone. Don’t let that happen to you.
Getting organized before the booking window opens is the difference between securing your spot and staring at a “fully booked” message. Here’s what you need lined up:
- A Parks Canada Reservation Service account created in advance, if you haven’t booked since March 2023, you’ll need a new one
- Your secure sign-in method ready (Facebook, Google, a participating bank, or GCKey)
- Your top three park and campground choices, plus backup dates
- Payment information at hand, credit card details, billing address, the works
- The specific launch date for your target location, since January launch dates vary by park
The account setup deserves special attention. Parks Canada’s secure sign-in system lets you use your Facebook or Google credentials, a participating bank login, or GCKey. Pick whichever you trust most and won’t forget when you’re racing against thousands of other campers. Test your login a week before launch day, there’s nothing worse than a forgotten password when every second counts.
Know which parks you want and which specific campgrounds within them appeal to you. Browse the Parks Canada website now, read reviews, study campground maps. When launch day hits, you won’t have time to research. You’ll need to search, select, and confirm in minutes, not hours.
This preparation feels tedious until you’re the one celebrating a confirmed reservation while others are still creating accounts.
Important Timing and Availability Warnings
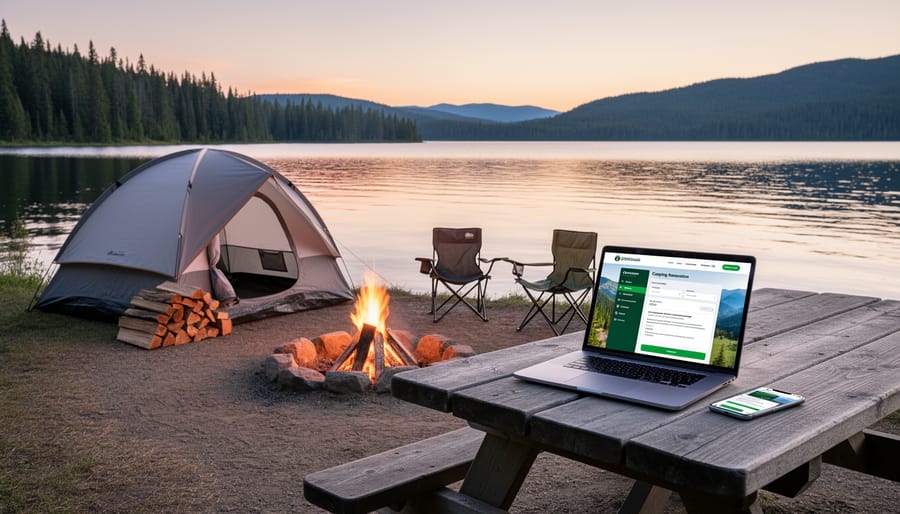
I learned this lesson the hard way during my first attempt to book a coveted campsite at Banff National Park. I’d heard stories about spots disappearing fast, but I thought “fast” meant an hour or two. Turns out I was naively optimistic. I logged in twenty minutes after the launch time, already dreaming about my lakeside campsite, only to find that every single weekend spot for the entire summer was gone. Twenty minutes. That’s all it took.
Here’s what you need to understand: Parks Canada reservations for the 2026 visitor season launch in January, but the exact date varies by location. Jasper might open reservations on a different day than Pacific Rim. This isn’t a system-wide launch where everything becomes available at once, and that’s where people get caught off guard. You can’t just mark “January” on your calendar and hope for the best.
The account requirement isn’t just a suggestion. Parks Canada updated their system, and old accounts no longer work. If you wait until launch morning to discover this, you’ll waste precious minutes fumbling through account creation while everyone else is snagging the prime spots. I’ve seen friends lose out on entire trips because they assumed their old login would still work.
Check your specific park’s reservation launch date well ahead of time, set multiple alarms, and treat it like concert tickets for your favorite band. Because honestly, that’s the level of competition you’re facing.
Step-by-Step: How to Book Your Parks Canada Campsite
Step 1: Create Your Parks Canada Reservation Service Account
Before you can snag that perfect lakeside spot, you’ll need a Parks Canada Reservation Service account. This is your gateway to booking and managing all your reservations, plus purchasing any passes or permits you’ll need for your adventure.
Here’s the important bit: if you haven’t booked a Parks Canada campsite since March 2023, you’ll need to create a completely new account. The system underwent changes, and old credentials won’t work anymore. I learned this the hard way one January morning when I tried logging in with my old details while prime sites were vanishing by the second, don’t make the same mistake.
Setting up your account is straightforward. You’ll choose a secure sign-in method from four options: your Facebook account, your Google account, a participating Canadian bank, or GCKey (the government’s sign-in service). Pick whichever you’re most comfortable with and already use regularly.
My insider tip? Create your account at least a week before launch day. Trying to set up an account while thousands of eager campers are flooding the system in January is asking for trouble. Get it done during a quiet moment, verify everything works, and you’ll be ready to move fast when those 2026 reservation windows open.
Step 2: Sign In and Navigate the Reservation Service
On booking day, head to the Parks Canada Reservation Service website and click the sign-in button. You’ll be prompted to choose your secure sign-in method, whether that’s Facebook, Google, a participating bank, or GCKey. Once you’re in, the interface shows a search bar where you can enter your desired park name or location.
Here’s my insider tip: have your target park already typed into a text document that you can quickly copy and paste. Those precious seconds matter when sites are vanishing in real time. I also keep two browsers open, one on my laptop and one on my phone, just in case one gets stuck loading. It sounds paranoid, but I’ve watched friends miss out because they had only one tab running.
The homepage displays featured parks and recent searches, but don’t get distracted browsing. Go straight to the search function, enter your park name, and hit search. You’ll see a calendar view showing available dates. The system highlights open nights in green and fully booked dates in grey. If you see your dates greyed out already, don’t panic, move to your backup choices immediately rather than refreshing endlessly.
Step 3: Search and Select Your Campsite
Once you’re signed in and viewing available sites, you’ll need to move quickly and strategically. Enter your desired park, arrival date, and length of stay in the search fields. The system will display a map view with colored markers indicating availability, green typically means available, while gray or red signals the site is booked. You can toggle between map and list views depending on your preference.
Use the filters to narrow your search by accommodation type (frontcountry tent sites, RV spots with electrical hookups, or oTENTik camping structures), proximity to amenities, or site features like lakefront access. But here’s the reality: on launch day for popular parks, you don’t have the luxury of being picky. I’ve watched pristine lakeside spots vanish from my cart while I debated between two options.
Have a strategy before you start clicking. Prioritize your must-haves but identify three or four acceptable backup sites in the same park. Better yet, research alternate campgrounds in the region that might have availability if your first choice sells out. When you find an acceptable site, add it to your cart immediately, you can always release it within the hold period if you spot something better, but hesitation means losing out entirely.
Step 4: Complete Your Reservation (Online or by Phone)
Once you’ve found your perfect campsite, it’s time to lock it in. You’ve got two paths here, and I’ve used both depending on the situation.
The Online Route
Most of the time, you’ll finish your booking right there in the reservation system. After selecting your site and dates, you’ll see a summary of your choices. Review it carefully, campsite number, dates, park location, because once it’s gone, it’s gone. Then you’ll enter your payment details and complete the transaction. The system accepts major credit cards, and you’ll get a confirmation number immediately.
Here’s what I’ve learned: specific reservation fees and cancellation policies do apply, but they can change. Always verify the current details shown in your booking summary before you finalize. Don’t assume the rules are the same as last year.
When to Use the Phone Instead
Sometimes the online system gets overwhelmed on launch day, or you might have questions about accessibility features or specific site conditions. That’s when calling saves the day. The reservation line (1-877-737-3783 in North America, or 1-519-826-5391 internationally) can process bookings just as effectively. I’ve actually snagged competitive sites by phone while others were refreshing crashed browser windows.
Phone agents can also answer nuanced questions about your reservation that the website can’t address. Check the official Parks Canada site for current phone numbers for reservations and service hours before launch day.
Quick Booking Checklist
- Review your campsite selection and dates one final time
- Verify fees and cancellation terms in your booking summary
- Complete payment using a major credit card
- Save your confirmation number and email immediately
Whether you book online or by phone, the moment you get that confirmation number, screenshot it, write it down, and breathe. You’re in.
After Booking: Managing Your Reservation and Next Steps
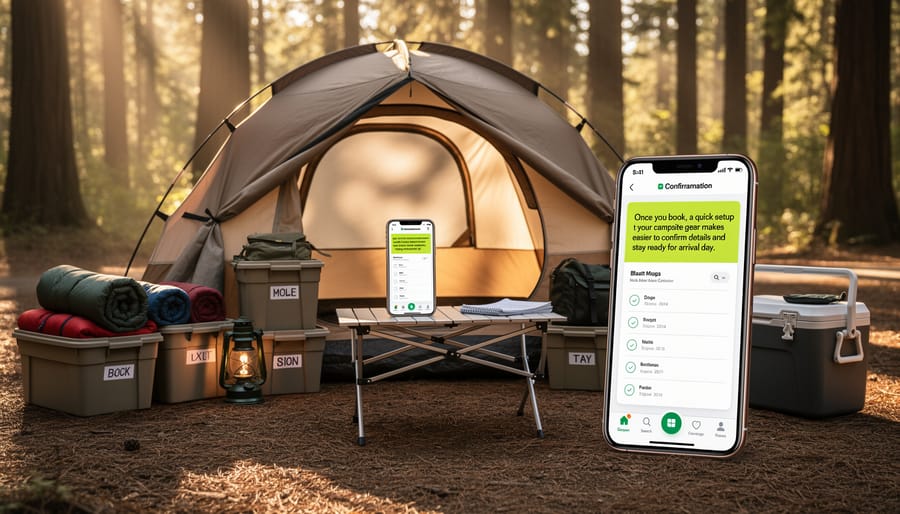
Got it! You’ve scored your campsite, and honestly, that’s the hardest part. Within a few minutes of completing your booking, you should receive a confirmation email, I always screenshot mine immediately, just in case it lands in spam or gets lost in my inbox later. Log back into your Parks Canada Reservation Service account to verify your reservation appears under your profile, and print or save a PDF copy of the confirmation. Trust me, having a physical backup gives you peace of mind, especially when you’re heading into areas with spotty cell service.
You can manage reservations in your account if you need to modify dates or add equipment rentals later. I recommend downloading the Parks Canada app well before your trip, it stores your reservation details offline and provides helpful park maps and updates. As your camping date approaches, start planning your gear and packing list and verify any specific park requirements. If you’re heading somewhere like PEI park entry check whether you need separate passes beyond your campsite reservation. You can also browse the Parks Canada Store for any last-minute gear or passes you might need before hitting the road.
Common Questions About the Parks Canada Reservation System
When exactly do 2026 Parks Canada reservations open?
Reservations for the 2026 visitor season launch in January, but the specific dates vary by location and park. Check your desired park’s dedicated page on the Parks Canada website well in advance to find out the exact date and time for your target campground, as popular locations can have different launch schedules.
Can I book a campsite without creating an account?
No, you need a Parks Canada Reservation Service account to make and manage bookings. If you haven’t booked a Parks Canada campsite since March 2023, you’ll need to create a new account using Facebook, Google, a participating bank, or GCKey before you can reserve.
What should I do if the online system crashes or is overwhelmed on launch day?
Have the phone reservation line ready as a backup: call 1-877-737-3783 if you’re in North America, or 1-519-826-5391 from outside North America. I’ve found that persistence pays off, keep refreshing or redialing, and consider having a friend or family member trying simultaneously on a different device.
What are my options if everything is fully booked?
Don’t give up right away. Check the reservation system regularly in the weeks leading up to your trip, as cancellations do happen and spots open up. You can also explore first-come, first-served campgrounds (not all Parks Canada sites require reservations), adjust your dates slightly, or consider nearby provincial parks as alternatives.
One question I hear constantly from fellow campers is whether you can transfer your reservation to someone else. Unfortunately, Parks Canada reservations are non-transferable, they’re tied to the account holder who made the booking. You can modify dates or cancel through your account, but you can’t hand off your hard-won campsite to a friend. That’s why I always double-check my travel dates before hitting that final confirm button, especially for those competitive long weekend bookings.
Booking a Parks Canada campsite isn’t about luck, it’s about preparation, speed, and having a backup plan. Yes, launch day feels intense. Yes, popular spots vanish in minutes. But if you’ve set up your account early, know your park’s specific January opening date, and have alternate dates or campgrounds ready, you’re already ahead of most people frantically clicking refresh.
And here’s the thing: if you miss the initial rush, don’t give up. Cancellations happen constantly as people’s plans change. I’ve snagged incredible last-minute spots at Banff and Jasper by checking back regularly in the weeks before my trip.
The reward is absolutely worth the effort. There’s nothing quite like waking up to mountain views in Jasper, watching the sun rise over a Nova Scotia coastline, or hearing loons echo across a pristine lake in Algonquin. Those moments, roasting marshmallows with my kids under a sky full of stars, no cell service, just us and the wilderness, that’s why I keep coming back.
Canada’s national parks are treasures, and with the right approach, they’re yours to explore. Happy camping!